
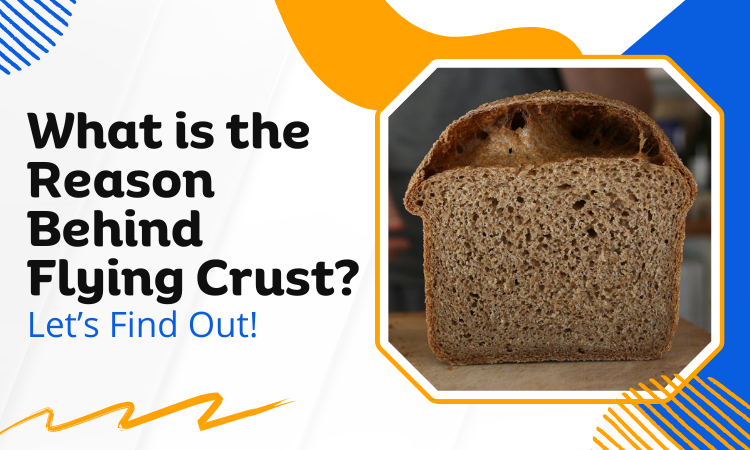
Bread with a flying crust is a common issue that both amateur and expert bakers encounter. It happens when the bread’s crust pulls up and separates from the crumb, giving the loaf an unsightly appearance.
But what is the reason behind the flying crust?
Overproofing the bread dough is the main reason behind the flying crust. Sometimes under proofing, the dough can cause this along with a lack of stem while baking, overbaking the bread, or using a small baking pan. You can solve this by proofing correctly, adding moisture, and using bigger pan, etc.
Want to know how you can fix the issues along with the details behind the reasons? Then keep on reading the article-
Why Do You Have Flying Crust Bread?
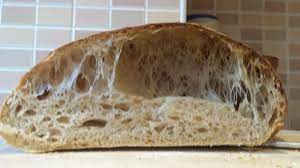
Flying crust bread refers to bread with larger air pockets than usual. This occurs when the bread has been proofed for an excessively long time, causing the CO2 gas to build up beneath the top crust.
This causes air pockets to form and loosens the crust. Moreover, if the dough is not properly scored it can result in a flying crust as well just like the choice between t45 and t55 all-purpose flour can change it too.
When bread dough is proofed, natural CO2 gas is produced, which allows the loaf to rise. But if the dough is over-proofed or under-proofed it can result in a flying crust. However, there are other reasons behind this issue as well. Let’s have a look at them:
Over proofed or Under proofed Bread Dough:
The process of enabling bread dough to rise before baking is called bread proofing or bread fermentation.
While the dough is proofing, the yeast in it eats the sugars and releases carbon dioxide gas. This causes the dough to stretch and rise. This procedure is crucial because it enables the bread to acquire taste, texture, and structure.
Over-proofed bread dough can cause a flying crust to develop. The gluten in bread dough can weaken and become fragile if it is allowed to rise for an excessively long time. This results in the crust separating from the rest of the bread during baking.
Over proofing can also make the bread rise excessively, resulting in a tall, narrow loaf with a thick crust. In this situation, the crust might not stick to the bread well and lead to the development of a flying crust.
A flying crust can occasionally result from under-proofed bread dough, however, it is less likely to do so than an over-proofed crust. Underproofed bread dough may not rise sufficiently while baking, resulting in a heavy, dense crumb and a thick, crusty top.
In this situation, the crust might not stick to the bread well and might even separate from it, which could lead to the development of a flying crust. But, in most circumstances, an under-proofed dough produces a tighter, less open crumb, which helps the crust stick to the bread better.
Room Temperature:
Room temperature has a significant impact on the bread dough. The dough is occasionally kept in the refrigerator. Usually, people do this when they want to save the dough for later use.
Yet, the dough warms up quickly from the outside when it is moved from the refrigerator to a warm environment. Yet it takes longer for the dough’s inside to warm up. As a result, the dough’s outer layer becomes more active and starts to release gas bubbles. Moreover, these gas bubbles cause undesirable flying crust.
Lack of Steam:
A flying crust on bread may form as a result of insufficient steam in the oven. Early on in the baking process, steam is crucial because it keeps the crust moist and malleable. This enables the crust to stick to the bread properly as it rises.
But the crust can turn up hard and brittle if there is not enough steam in the oven while baking. Along with that the crust will separate from the rest of the bread and create giant air pockets.
Over Baking:
During baking, oven temperature and timing are both highly important. Between 350 and 475 degrees Fahrenheit (180 and 246 degrees Celsius) is the best oven temperature for baking bread.
This maximizes both caramelization and the Maillard reaction. For the finished product to have the ideal color and texture, this timing is essential.

Any small difference in the timing can result in over-baking. When the bread is baked for too long or at too high of a temperature, it can cause the crust to become too hard and brittle. As a result, it separates from the inside and creates air pockets.
If you notice the crusts becoming very dark or burnt-looking, you can be sure that they have been overbaked.
Insufficient Moisture:
Another reason for the formation of a flying crust on bread is insufficient moisture. The crust may become excessively hard and brittle and separate from the remainder of the bread if the dough is too dry or if the bread is baked in an environment with low humidity.
Lack of moisture in the dough increases the possibility doesn’t allow the crust sticks to the bread and results in creating air pockets.
Small Baking Pan:
The size of the baking pan can be behind the flying crust as well. If the pan is too small for the amount of dough, the bread may rise too much and create a tall, narrow loaf with a thick crust.
In this case, the crust may not adhere well to the rest of the bread, and could potentially separate from it, contributing to the formation of a flying crust.
How to Prevent Flying Crust Bread?
Along with taking the correct measurement of ingredients you need to be sure of the following things to prevent flying crust bread-
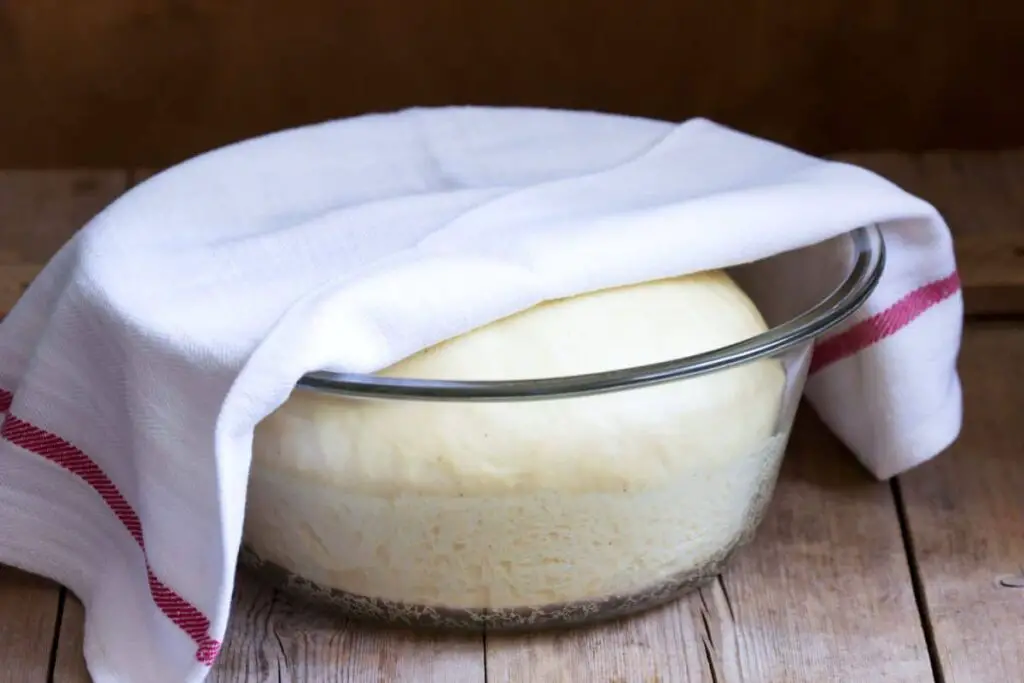
Proof the Bread Properly:
Properly proofing bread dough is important to ensure that the bread has the right texture, flavor, and structure. Here are some tips for proofing bread dough properly:
- Ideally, the dough-proofing location should be warm and humid, with a temperature between 75-80°F (24-27°C) and a humidity level of around 70%. A draft-free location is also important.
- You need to cover the dough with a damp cloth or plastic wrap to prevent the surface from drying out and forming a crust.
- A sufficient amount of time should be given for proofing. In general, the dough should double in size during proofing, which can take anywhere from 30 minutes to several hours.
- You need to check the dough periodically during proofing to ensure that it is rising properly. If the dough is not rising enough, it may need more time or a warmer location. If the dough is rising too quickly, it may need to be punched down and reshaped.
- You can check if the dough is properly proofed by gently pressing a finger into the dough. If the indentation remains, the dough is ready to bake. If the dough springs back, it needs more time to proof.
By following these tips, you can help ensure that your bread dough is proofed properly and ready to bake into a delicious loaf of bread.
Adjust Baking Time & Temperature:
The temperature for baking bread is between 350 to 475 Fahrenheit (180 and 246 degrees Celsius). And it usually takes 30-35 minutes to bake a batch of bread.
This temperature maximizes both caramelization and the Maillard reaction. For the finished product to have the ideal color and texture, this timing is essential.
Adjust the baking temperature and time of your oven and see how the bread dough reacts. We suggest creating some test batches of dough for getting the perfect temperature at which the oven gives the best possible result.
You can also check out the recipe on making bread from scratch for the best bread-baking technique.
Add Moisture:
If the dough seems too dry, you can try adding a little more water to the recipe. Alternatively, you can try spraying the bread with water just before putting it in the oven. Or, place a tray of water in the oven during baking to create steam.
You can also try covering the bread with a baking dome or a lid from a large pot. Do this during the first part of the baking process. This will trap moisture around the bread and help prevent the crust from drying out too quickly.
Use Dutch Oven:
By using a Dutch oven like Trustmade Cast Iron Dutch Oven, you can create a humid baking environment that mimics the environment of a professional bread oven. This can help produce bread with a nice crust without having any flying crust or fool’s crumb.
The Dutch oven is preheated before the bread is added. This allows the pot to become very hot and traps the heat inside. When the bread dough is added to the hot Dutch oven, the moisture in the dough begins to evaporate and creates steam.
As the oven is covered, the steam is trapped inside and surrounds the bread. This steam helps to keep the surface of the bread moist. It also prevents from drying out and thick crust. It also helps the bread to rise and develop a nice crust.
Cover the Bread:
Another option is to cover the bread with a piece of aluminum foil or a lid during the first part of the baking process. This can help to keep the crust from hardening too much before the bread is fully baked.
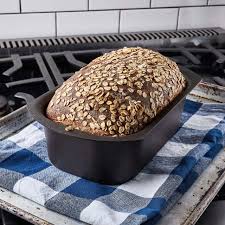
Use Bigger Pan:
If you were using a small pan for baking before try using a larger size one. Sometimes simply changing to a 4″ x 9″ pan from a 3.5″ x 8″ pan improves the result.
You can also try using the pans specifically made for gluten-free bread. These are significantly taller and narrower than standard loaf pans. This is because the gluten-free dough needs more support.
The crumb also stays tightly packed in a Pullman pan with a lid, producing a bread slice that is precisely square. This pan doesn’t face any issues the doll cake pan faces.
Frequently Asked Questions (FAQs):
How Long Does Bread Need to be proofed?
The dough should proof for one to four hours at a warm temperature or overnight in a cold refrigerator. The bread dough’s content affects how long it needs to be proofed. It depends on the type of flour used, the quantity used, the moisture level, and the temperature at which the proofing will take place.
How Many Folds are Necessary for Sourdough?
Four folds are required for sourdough. During bulk fermentation, every sourdough bread recipe calls for at least one set of stretch and folds. These are called sets because during this step you usually stretch and fold the dough four times. These folds are one in each of the four directions (North, South, East, and West).
What Can I Do to Make My Bread Fluffier and Lighter?
A significantly lighter and fluffier outcome can be achieved with just a modest bit of dough enhancer per loaf. Adding a dough enhancer, such as Vital Wheat Gluten, improves the texture and flexibility of the dough while also lengthening the gluten strands. This gives the dough more time to grow and expand.
End Words
That was all about the reason behind flying crust bread. Hopefully, you are well aware of the reasons and can solve the issue from now on.
Always make sure to knead the dough properly and use the correct measurements while baking bread. Take note of the temperature suggested in your recipe as well.
Until next time!