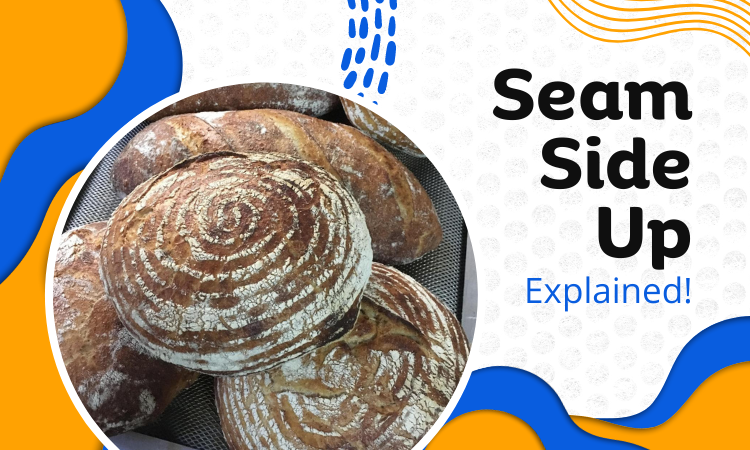
“Seam Side Up” is a very popular and common term among cooking enthusiasts and professional chefs. However, people who are new at this often get confused when they see this term used in recipes. We totally understand if you’re going through the same thing.
Seam side up involves placing the seam side of meat or dough facing upwards in a cooking vessel or on a cooking surface. It can enhance the presentation of a dish while ensuring that it holds moisture to amplify quality. However, it can also lead to common problems such as uneven cooking and dry meat.
In this article, we’ll explore the ins and outs of the seam side up technique. We would also include how to avoid these issues and achieve perfectly cooked dishes. So stay with us!
What Does Seam Side Up Mean?
“Seam side up” is a cooking term that refers to the orientation of food items. Particularly meat, when placed in a cooking vessel or on a cooking surface. The term “seam side up” simply means placing the seam side of meat or dough facing upwards . This is usually done to enhance the presentation of the dish when it is served.
Professional chefs would take great care in presenting their dishes aesthetically. From there, seam side up has come. The term is also used in home cooking, where it is a common practice to present dishes in an attractive way.
The term “seam side up” can also be used in baking, where it refers to the orientation of dough when placed in a baking pan. In this case, placing the seam side up can help to create a more uniform shape and appearance in the finished product.
Benefits of Cooking with the Seam Side Up
In this section, we’ll explore why cooking with the seam side up is a great way to enhance the quality of your dishes.
Even cooking:
Cooking with the seam side up ensures that heat is distributed evenly throughout the food item. This is because the seam acts as a natural barrier that prevents the heat from escaping too quickly. Consequently, food items such as meats and vegetables cook more evenly.
This is particularly important when cooking meat. This is because uneven cooking can result in some parts of the meat being overcooked while others are undercooked. By cooking with the seam side up, you can avoid this problem and ensure that your meat is cooked to perfection.
Moisture retention:
When cooking with the seam side up, moisture is retained within the food item. This is because the seam acts as a natural barrier that prevents moisture from evaporating too quickly. As a result, meats and vegetables remain tender and juicy, resulting in a more flavorful dish.
Appearance:
Cooking with the seam side up also improves the appearance of the finished dish. This is because the seam acts as a natural barrier for the item. This barrier protects the food item from expanding too much.
As a result, the food item retains its shape and looks more visually appealing. The dish will look beautiful when served. Similarly, the bread will be super fluffy assuming you used a tacky dough for the seam side up.
Flavor:
Finally, cooking with the seam side up makes the dish more flavourful. It’s cause the moisture and juices that are retained within help to infuse the dish with more flavor. As a result, the finished dish is more flavorful and enjoyable to eat.
This is particularly true for dishes that are meant to be served with a sauce. For instance, a pot roast or a stew. By cooking these dishes with the seam side up, you can ensure that the meat is flavorful and tender, and that the sauce is rich and delicious.
How to Cook with the Seam Side Up: A Step-by-Step Guide
Cooking with the seam side up is a technique that can be used with a variety of dishes, from meats to vegetables to stuffed items. Here’s a detailed step-by-step guide on how to cook with the seam side up:
Step 1: Prepare the Food Item
The first step in cooking with the seam side up is to prepare the food item. Depending on what you’re cooking, this may involve trimming excess fat from meats or tying the meat to ensure it retains its shape.
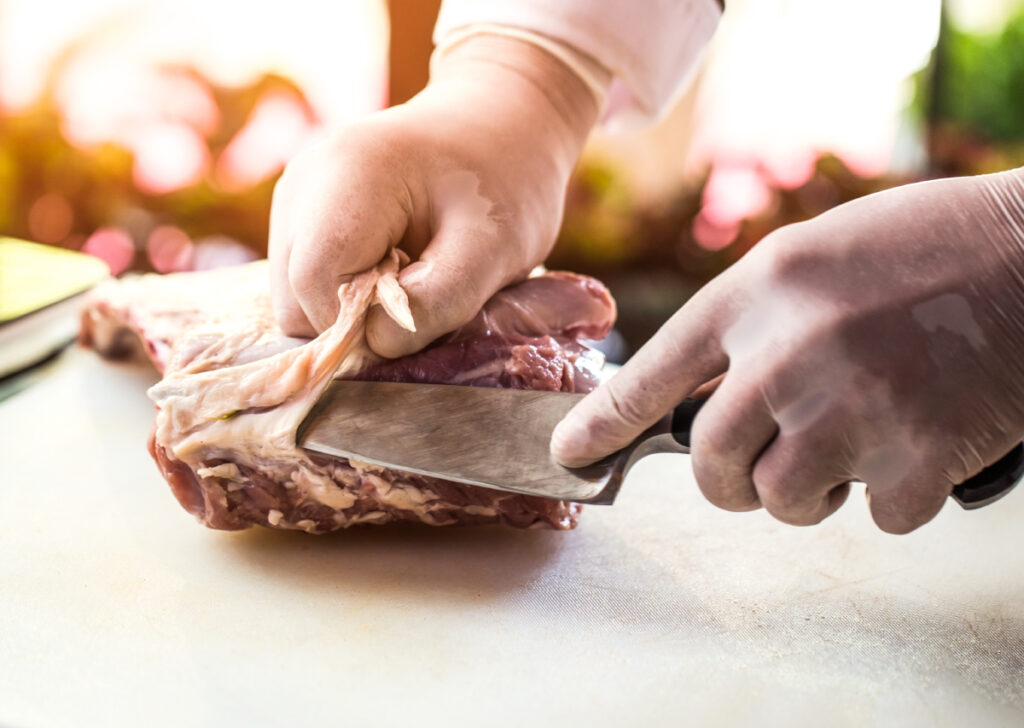
For vegetables, it may involve slicing or chopping them into the desired size and shape. For stuffed items, you may need to stuff them with the desired filling. Whatever the preparation needed, make sure the food item is ready before moving to the next step.
Step 2: Place the Food Item in the Cooking Dish
Once the food item is prepared, place it in the cooking dish with the seam side up. This could be a roasting pan, casserole dish, or baking sheet, depending on the dish you’re cooking.
Placing the seam side up will ensure that moisture is retained within the food item.This makes the food more flavorful and tender.
Step 3: Add any Desired Seasonings or Sauces
If desired, you can add any desired seasonings or sauces to the dish at this point. This could involve adding herbs, spices, or a marinade to the dish.
Adding seasonings and sauces can enhance the flavor of the dish and create a unique taste. If you’re looking for ready-made seasoning, you can go for the McCormick All Purpose Seasoning or Happy Belly Prime Seasoning
Step 4: Cover the Dish
Once the food item is in the dish and seasoned, cover the dish with a lid or foil. This will help to trap in heat and moisture, ensuring that the food item cooks evenly and retains its moisture. Covering the dish also prevents the food item from drying out, resulting in a more succulent and juicy dish.
Step 5: Cook the Dish
Place the covered dish in the oven or on the stovetop and cook according to the recipe’s instructions. Be sure to check the dish periodically to ensure that it’s cooking evenly.
Cooking with the seam side up ensures that heat is distributed evenly throughout the food item. It creates a more consistent texture throughout the dish.
After it’s cooked, remove the cover from the dish. It helps in crisping and browning.
Step 6: Let the Dish Rest
Once the dish is fully cooked, remove it from the heat and let it rest for a few minutes. This would make the juice spread throughout the dish. Ensuring that each bite is juicy and flavorful.
Letting the dish rest also allows the food item to cool down and settle. This makes things like slicing a flank steak much easier.
Common Problems With Seam Side Up
There are some common problems that can arise when using this technique. Here, we will discuss these problems and offer solutions to help you avoid them.
Uneven Cooking:
One of the most common problems with seam side up is uneven cooking. When the seam side is facing up, the meat or dough may not cook evenly, resulting in one side being overcooked while the other is undercooked. This can be particularly problematic when cooking a the whole chicken.
Solution: To avoid uneven cooking, it is important to properly season and prepare the meat or dough. Additionally, you can flip the meat or dough halfway through the cooking process.
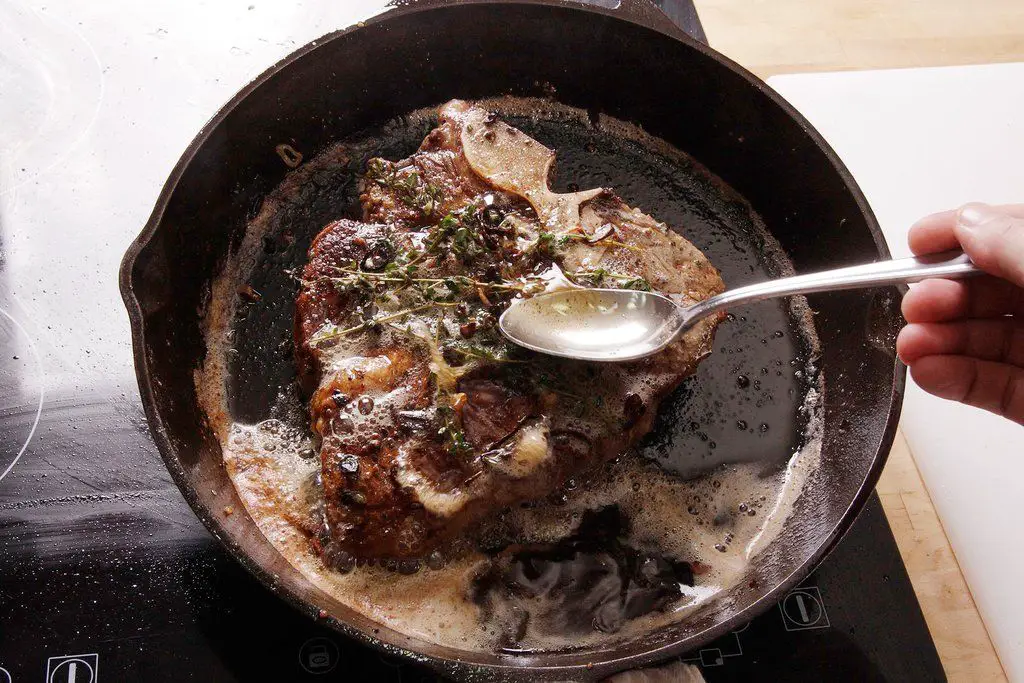
Dry Meat:
Another problem with cooking meat seam side up is that it can result in dry meat. It’s because the juices in the meat tend to pool on the bottom rather than staying inside the meat. Dry meat can be very frustrating since the meat becomes hard to chew and the flavors are off.
Solution: To avoid this, it’s important to baste the meat regularly or to add liquid to the cooking vessel. Try basting brush to distribute juices, broth, or oil to the meat when it cooks.
You can also add a small amount of water or wine to the bottom of the cooking vessel.
Dough Sticking:
When using seam side up with dough, the dough may stick to the surface it is placed on. It can also create a flying crust, which is a pain if you are a baker.
Solution: To solve this problem, make sure to properly flour or grease the surface before placing the dough with the seam side up. This will help not to stick as it rises up. Loosening the dough from the surface before transferring it to the oven can also help prevent sticking.
Mistakes To Avoid
Here are some common errors to steer clear of when cooking with the seam side up technique:
- Inadequately seasoning the seam side: When seasoning meat or dough, it’s essential to season both sides, including the seam side, uniformly. Otherwise, the dish may end up with a lackluster taste and look on the seam side.
- Placing the seam side down prematurely: If you place the seam side down too early, the seam may come apart, and the filling may spill out, leading to an unappealing and untidy presentation.
- Overcrowding the pan: Overcrowding the pan can result in uneven cooking and make it hard to maintain the seam side up. You must leave enough space between each meat or dough piece to ensure uniform cooking and prevent sticking together. Otherwise, you could face a fool’s crumb with your dough.
- Flipping the dish too soon: Flipping the dish too soon can cause the filling to spill out and the seam to come apart. It’s important to wait until the dish is fully cooked and set before flipping it over.
Frequently Asked Questions (FAQs):
Should you put the seam side up or down for bread?
If you’re looking to try scoring your bread with a razor blade, it’s recommended to place the loaf with the seam side facing up. This involves thoughtfully cutting the dough to allow for expansion.
What type of meat is best for cooking seam side up?
It’s best to choose cuts of meat that are uniform in thickness or to flatten the meat before cooking. This can help promote even cooking and prevent dry meat.
Can I use the “seam side up” technique when proofing bread in a Banneton basket?
Yes, when using a Banneton basket to proof bread, it’s recommended to place the seam side of the dough facing upwards. This can help create a nice pattern on the crust of the bread when it’s baked. However, it’s important to follow your recipe’s instructions or your personal preference.
End Note
That’s all for this session. Hopefully, now you have all your questions answered regarding seam side up cooking technique.
If you have any doubts, do let us know. Till then, goodbye!